The Ultimate Guide to High Protein Meal Prep Ideas: 10 Easy Recipes to Fuel Your Week (Budget-Friendly & Delicious!)



Table of Contents
- Why High Protein Meal Prep Ideas Will Change Your Life
- Meal Prep Essentials: What You Need Before You Start
- Recipe 1: Budget Chicken & Rice Power Bowls
- Recipe 2: Turkey Lettuce Wraps for Weight Loss
- Recipe 3: 20-Minute Chicken Stir Fry for Busy Weeks
- Recipe 4: Vegetarian Chickpea & Quinoa Power Bowls
- Recipe 5: Steak & Sweet Potato Muscle-Building Bowls
- Recipe 6: Fluffy Egg Muffin Cups for Breakfast
- Recipe 7: Chicken Caesar Wraps (Grab & Go)
- Recipe 8: Baked Chicken Meatballs the Whole Family Will Love
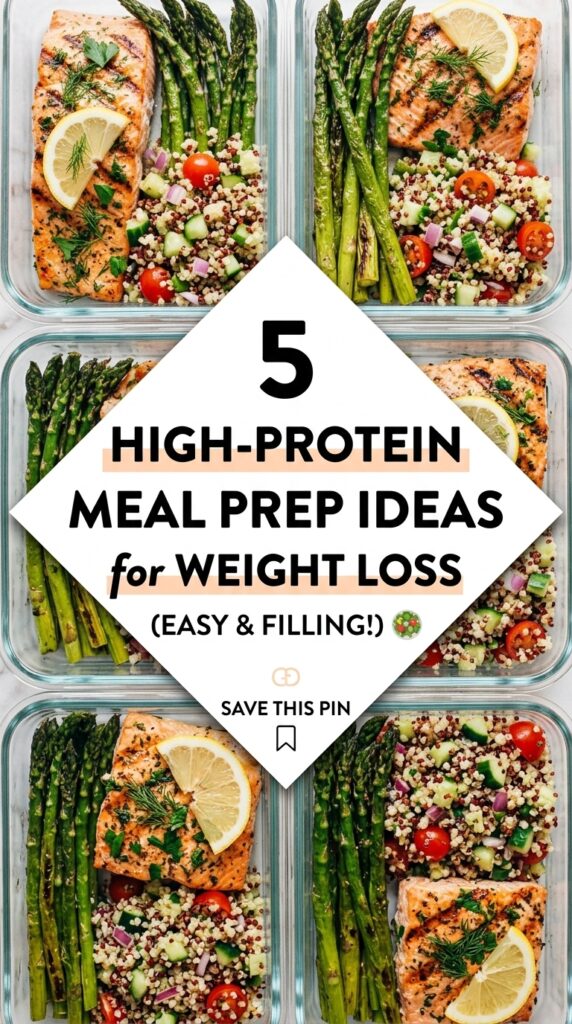
- Recipe 9: Garlic Butter Salmon with Asparagus (Keto)
- Recipe 10: Sheet Pan Chicken & Veggies for Beginners
- Storage Tips & Frequently Asked Questions
Why High Protein Meal Prep Ideas Will Change Your Life {#why}
Let’s be honest — between work, family, gym sessions, and trying to maintain some kind of social life, figuring out what to eat every single day is exhausting. That’s exactly why High Protein Meal Prep Ideas have become one of the most searched nutrition topics on the internet, and for good reason.
When you dedicate just 2–3 hours on a Sunday to prepping high-protein meals for the week, you unlock a cascade of benefits:
- You save money. No more $15 salads at the office cafeteria or impulsive fast-food runs.
- You hit your protein goals consistently. Whether you’re aiming for 100g or 200g of protein per day, having pre-portioned meals makes it almost automatic.
- You stop decision fatigue. When 12 PM hits and you’re starving, your lunch is already waiting in the fridge.
- You eat cleaner without thinking about it. Pre-planned meals eliminate the temptation of vending machines and drive-throughs.
In this comprehensive guide, we’re sharing 10 detailed, step-by-step High Protein Meal Prep Ideas that cover every scenario — from tight budgets and weight loss goals to vegetarian diets and keto lifestyles. Each recipe includes exact measurements, cooking instructions, and approximate macros so you know exactly what you’re fueling your body with.
Let’s dive in.
Meal Prep Essentials: What You Need Before You Start {#essentials}
Before you fire up the stove, make sure you have these basics ready:
- Glass or BPA-free plastic containers with airtight lids (compartmentalized ones are ideal)
- A food scale for accurate macro tracking
- Meal prep labels or masking tape to date your containers
- A large cutting board and sharp chef’s knife
- Sheet pans, a large skillet, and a muffin tin
- Ziplock bags for marinating proteins overnight
Pro Tip: Cook your proteins in bulk first (chicken, ground turkey, eggs), then prepare your carbs and vegetables separately. This modular approach lets you mix and match throughout the week so you never get bored.
Recipe 1: Budget Chicken & Rice Power Bowls 💰 {#recipe1}
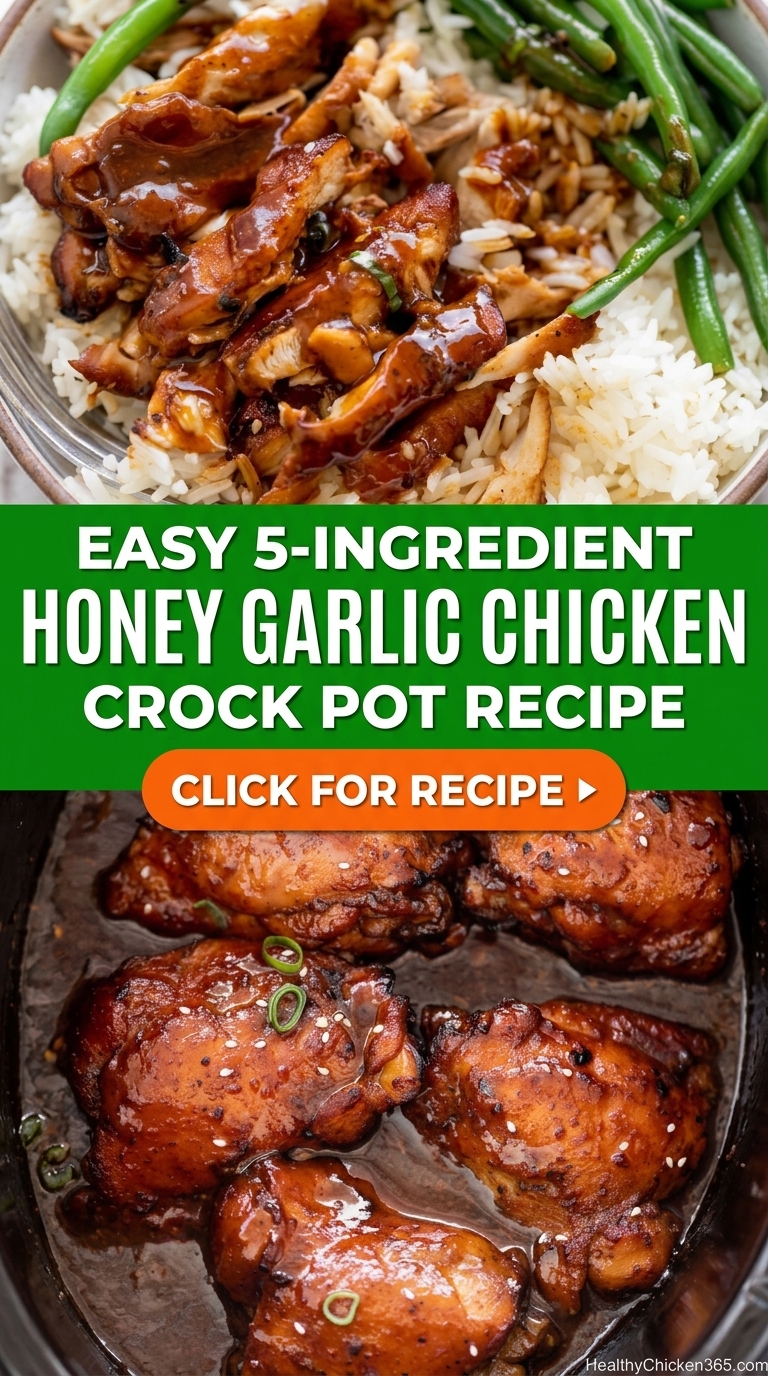
One of the most affordable High Protein Meal Prep Ideas you’ll ever make. This recipe costs roughly $2.50 per serving and delivers a massive protein punch.
Prep Time: 15 minutes | Cook Time: 25 minutes | Servings: 5 | Protein per serving: ~42g
Ingredients
- 2 lbs (900g) boneless, skinless chicken thighs
- 2 cups long-grain white rice (uncooked)
- 4 cups low-sodium chicken broth
- 2 cups frozen broccoli florets
- 2 cups frozen mixed vegetables (carrots, peas, corn)
- 3 tbsp olive oil
- 2 tsp garlic powder
- 2 tsp smoked paprika
- 1 tsp onion powder
- 1 tsp salt
- ½ tsp black pepper
- ¼ cup soy sauce (or coconut aminos for gluten-free)
- 2 tbsp honey
- 1 tbsp sriracha (optional)
Step-by-Step Instructions
Step 1: Cook the rice. Rinse the rice under cold water until the water runs clear. In a large pot, combine the rice and chicken broth. Bring to a boil over high heat, then reduce to low, cover, and simmer for 18–20 minutes until the liquid is fully absorbed. Remove from heat and let it sit covered for 5 minutes. Fluff with a fork.
Step 2: Season the chicken. Pat the chicken thighs dry with paper towels. In a large bowl, toss the chicken with olive oil, garlic powder, smoked paprika, onion powder, salt, and pepper until evenly coated.
Step 3: Cook the chicken. Heat a large skillet over medium-high heat. Add the seasoned chicken thighs in a single layer (work in batches if needed). Cook for 6–7 minutes per side until the internal temperature reaches 165°F (74°C) and the outside is golden brown. Transfer to a cutting board and let rest for 5 minutes before dicing into bite-sized cubes.
Step 4: Prepare the sauce. In a small bowl, whisk together the soy sauce, honey, and sriracha. Set aside.
Step 5: Steam the vegetables. Place the frozen broccoli and mixed vegetables in a microwave-safe bowl with 2 tablespoons of water. Cover and microwave for 3–4 minutes until heated through. Drain any excess water.
Step 6: Assemble the bowls. Divide the rice evenly among 5 meal prep containers. Top each with a generous portion of diced chicken, steamed broccoli, and mixed vegetables. Drizzle the soy-honey sauce over each bowl.
Step 7: Store. Seal the containers and refrigerate for up to 4 days. Reheat in the microwave for 2–3 minutes, stirring halfway through.
Recipe 2: Turkey Lettuce Wraps for Weight Loss 🥗 {#recipe2}
These light yet satisfying wraps are one of the best High Protein Meal Prep Ideas for anyone focused on fat loss. Low in calories, high in protein, and incredibly flavorful.
Prep Time: 15 minutes | Cook Time: 15 minutes | Servings: 4 | Protein per serving: ~35g
Ingredients
- 1.5 lbs (680g) lean ground turkey (93/7)
- 1 large head butter lettuce or romaine hearts
- 1 medium yellow onion, finely diced
- 4 cloves garlic, minced
- 1 tbsp fresh ginger, grated
- 1 red bell pepper, diced
- 1 cup shredded carrots
- 3 tbsp soy sauce (low sodium)
- 2 tbsp rice vinegar
- 1 tbsp sesame oil
- 1 tbsp hoisin sauce
- 1 tsp red pepper flakes
- 2 green onions, thinly sliced
- 1 tbsp sesame seeds
- 1 tbsp olive oil
Step-by-Step Instructions
Step 1: Prepare the lettuce cups. Carefully separate the lettuce leaves, choosing the largest and most intact ones. Rinse under cold water, pat dry with paper towels, and store them in a ziplock bag with a damp paper towel to keep them crisp. Do not assemble the wraps until you’re ready to eat — this prevents sogginess.
Step 2: Sauté the aromatics. Heat olive oil in a large skillet or wok over medium-high heat. Add the diced onion and cook for 3–4 minutes until translucent. Add the garlic and ginger, stirring constantly for 30 seconds until fragrant.
Step 3: Brown the turkey. Add the ground turkey to the skillet, breaking it apart with a wooden spoon. Cook for 6–8 minutes until fully browned and no pink remains. Drain any excess fat.
Step 4: Add the vegetables. Toss in the diced red bell pepper and shredded carrots. Stir-fry for 2–3 minutes until the vegetables are tender-crisp.
Step 5: Build the sauce. In a small bowl, combine the soy sauce, rice vinegar, sesame oil, hoisin sauce, and red pepper flakes. Pour the sauce over the turkey mixture and stir to coat evenly. Cook for an additional 2 minutes until the sauce thickens slightly.
Step 6: Portion for meal prep. Divide the turkey filling into 4 airtight containers. Store the lettuce leaves separately in a ziplock bag. Keep the sliced green onions and sesame seeds in a small container for garnish.
Step 7: To serve. Scoop a generous portion of the turkey filling into 2–3 lettuce leaves. Top with green onions and sesame seeds. Eat immediately for the best texture.
Recipe 3: 20-Minute Chicken Stir Fry for Busy Weeks ⏱️ {#recipe3}
When you need High Protein Meal Prep Ideas that come together in a flash, this stir fry is your best friend. One pan, minimal cleanup, and ready in under 20 minutes.
Prep Time: 10 minutes | Cook Time: 10 minutes | Servings: 4 | Protein per serving: ~40g
Ingredients
- 1.5 lbs (680g) chicken breast, sliced into thin strips
- 2 cups snap peas
- 2 cups broccoli florets
- 1 red bell pepper, sliced
- 1 cup sliced mushrooms
- 3 tbsp cornstarch
- 2 tbsp vegetable oil
- 3 cloves garlic, minced
- 1 tbsp fresh ginger, minced
For the stir fry sauce:
- ¼ cup soy sauce
- 2 tbsp oyster sauce
- 1 tbsp rice vinegar
- 1 tbsp honey
- 1 tsp sesame oil
- ½ tsp black pepper
- 2 tbsp water
Step-by-Step Instructions
Step 1: Coat the chicken. Place the chicken strips in a bowl and toss with 2 tablespoons of cornstarch until lightly coated. This creates a velvety texture and helps the sauce cling to the meat.
Step 2: Mix the sauce. In a small bowl or jar, whisk together the soy sauce, oyster sauce, rice vinegar, honey, sesame oil, black pepper, remaining cornstarch, and water. Set aside.
Step 3: Sear the chicken. Heat 1 tablespoon of vegetable oil in a large wok or skillet over high heat. Add the chicken strips in a single layer and cook undisturbed for 2 minutes. Flip and cook for another 2 minutes until golden and cooked through. Remove the chicken and set aside.
Step 4: Stir fry the vegetables. In the same wok, add the remaining tablespoon of oil. Toss in the snap peas, broccoli, bell pepper, and mushrooms. Stir-fry for 3–4 minutes until the vegetables are tender-crisp and slightly charred at the edges.
Step 5: Combine everything. Return the chicken to the wok. Give the sauce a quick stir (the cornstarch may have settled) and pour it over the chicken and vegetables. Toss everything together for 1–2 minutes until the sauce thickens and coats everything glossy.
Step 6: Portion and store. Divide the stir fry into 4 meal prep containers. Serve over rice or cauliflower rice if desired (cook separately). Refrigerate for up to 4 days. Reheat in a skillet or microwave.
Recipe 4: Vegetarian Chickpea & Quinoa Power Bowls 🌱 {#recipe4}
Proof that High Protein Meal Prep Ideas don’t have to revolve around meat. These plant-based bowls pack over 25g of protein per serving thanks to the chickpea-quinoa combo.
Prep Time: 15 minutes | Cook Time: 25 minutes | Servings: 4 | Protein per serving: ~26g
Ingredients
- 2 cans (15 oz each) chickpeas, drained and rinsed
- 1.5 cups quinoa (uncooked)
- 3 cups vegetable broth
- 2 cups cherry tomatoes, halved
- 1 large cucumber, diced
- 1 cup Kalamata olives, pitted and halved
- ½ cup crumbled feta cheese
- ¼ cup fresh parsley, chopped
- 3 tbsp extra virgin olive oil
- 2 tbsp lemon juice
- 2 tsp ground cumin
- 1 tsp smoked paprika
- 1 tsp garlic powder
- Salt and pepper to taste
Step-by-Step Instructions
Step 1: Cook the quinoa. Rinse the quinoa thoroughly in a fine-mesh strainer. In a medium pot, combine the quinoa and vegetable broth. Bring to a boil, then reduce heat to low, cover, and simmer for 15 minutes. Remove from heat and let sit covered for 5 minutes. Fluff with a fork and let cool slightly.
Step 2: Roast the chickpeas. Preheat your oven to 400°F (200°C). Pat the chickpeas completely dry with a clean kitchen towel (this is the secret to crispy chickpeas). Toss them with 1 tablespoon of olive oil, cumin, smoked paprika, garlic powder, salt, and pepper. Spread in a single layer on a baking sheet and roast for 20–25 minutes, shaking the pan halfway through, until golden and crunchy.
Step 3: Make the dressing. In a small jar, combine the remaining olive oil, lemon juice, a pinch of salt, and a pinch of pepper. Shake vigorously until emulsified.
Step 4: Prep the fresh vegetables. Halve the cherry tomatoes, dice the cucumber, and chop the parsley. Store these in separate containers if prepping more than 2 days ahead to maintain freshness.
Step 5: Assemble the bowls. Divide the quinoa among 4 containers. Top with roasted chickpeas, cherry tomatoes, cucumber, Kalamata olives, and crumbled feta. Drizzle with the lemon dressing and sprinkle with fresh parsley.
Step 6: Store. Keep refrigerated for up to 4 days. The roasted chickpeas will soften slightly in the fridge — if you prefer them crispy, store them separately and add just before eating.
Recipe 5: Steak & Sweet Potato Muscle-Building Bowls 💪 {#recipe5}
Serious about gains? These High Protein Meal Prep Ideas deliver over 45g of protein per serving with the perfect carb-to-protein ratio for post-workout recovery.
Prep Time: 15 minutes | Cook Time: 30 minutes | Servings: 4 | Protein per serving: ~46g
Ingredients
- 2 lbs (900g) flank steak or sirloin steak
- 3 large sweet potatoes, peeled and cubed
- 4 cups fresh spinach
- 2 cups Brussels sprouts, halved
- 3 tbsp olive oil
- 4 cloves garlic, minced
- 2 tbsp Worcestershire sauce
- 1 tbsp Dijon mustard
- 2 tsp garlic powder
- 2 tsp onion powder
- 1 tsp smoked paprika
- Salt and pepper to taste
Step-by-Step Instructions
Step 1: Marinate the steak. In a ziplock bag, combine the Worcestershire sauce, Dijon mustard, 1 tablespoon of olive oil, minced garlic, and a generous pinch of salt and pepper. Add the steak, seal the bag, and massage the marinade into the meat. Refrigerate for at least 30 minutes (or overnight for best results).
Step 2: Roast the sweet potatoes. Preheat the oven to 425°F (220°C). Toss the cubed sweet potatoes with 1 tablespoon of olive oil, garlic powder, salt, and pepper. Spread on a baking sheet in a single layer. Roast for 25–30 minutes, flipping halfway, until fork-tender and caramelized at the edges.
Step 3: Roast the Brussels sprouts. On a separate baking sheet, toss the halved Brussels sprouts with the remaining olive oil, onion powder, salt, and pepper. Roast alongside the sweet potatoes for 20–25 minutes until crispy on the outside and tender inside.
Step 4: Cook the steak. Heat a cast-iron skillet over high heat until smoking. Remove the steak from the marinade and pat dry. Sear for 4–5 minutes per side for medium-rare (internal temperature of 130–135°F / 54–57°C). Transfer to a cutting board and let rest for at least 10 minutes before slicing against the grain into thin strips.
Step 5: Wilt the spinach. In the same skillet (still warm from the steak), toss the fresh spinach for 30–60 seconds until just wilted. Season with a pinch of salt.
Step 6: Assemble the bowls. Divide the roasted sweet potatoes, Brussels sprouts, and wilted spinach among 4 containers. Top with sliced steak. Drizzle any resting juices from the cutting board over the meat.
Step 7: Store. Refrigerate for up to 4 days. Reheat the steak gently in the microwave at 50% power to avoid overcooking.
Recipe 6: Fluffy Egg Muffin Cups for Breakfast 🍳 {#recipe6}
The ultimate grab-and-go High Protein Meal Prep Ideas for breakfast. Make a batch on Sunday and enjoy protein-packed mornings all week.
Prep Time: 10 minutes | Cook Time: 20 minutes | Servings: 12 muffins | Protein per muffin: ~12g (eat 2–3 per serving)
Ingredients
- 10 large eggs
- ¼ cup milk (whole or almond)
- 1 cup shredded cheddar cheese
- 1 cup diced cooked chicken breast or turkey sausage
- ½ cup diced bell peppers (any color)
- ½ cup fresh spinach, chopped
- ¼ cup diced red onion
- 1 tsp garlic powder
- 1 tsp Italian seasoning
- Salt and pepper to taste
- Cooking spray or olive oil for greasing
Step-by-Step Instructions
Step 1: Preheat and prep. Preheat the oven to 375°F (190°C). Generously grease a 12-cup muffin tin with cooking spray or brush with olive oil. Pro tip: silicone muffin liners make removal effortless.
Step 2: Whisk the egg base. In a large bowl, crack all 10 eggs. Add the milk, garlic powder, Italian seasoning, salt, and pepper. Whisk vigorously until the mixture is completely uniform and slightly frothy.
Step 3: Distribute the fillings. Evenly divide the diced chicken (or turkey sausage), bell peppers, spinach, red onion, and shredded cheddar cheese among the 12 muffin cups. Each cup should be about ⅓ full of fillings.
Step 4: Pour the eggs. Carefully pour the egg mixture over the fillings in each cup, filling them about ¾ of the way to the top. Do not overfill — the eggs will puff up during baking.
Step 5: Bake. Place the muffin tin in the preheated oven and bake for 18–22 minutes until the egg muffins are puffed, set in the center, and lightly golden on top. A toothpick inserted in the center should come out clean.
Step 6: Cool and remove. Let the muffins cool in the tin for 5 minutes, then run a butter knife around the edges and pop them out. Transfer to a wire rack to cool completely before storing.
Step 7: Store and reheat. Store in an airtight container in the refrigerator for up to 5 days, or freeze for up to 2 months. Reheat in the microwave for 30–45 seconds or in a toaster oven for 3–4 minutes.
Recipe 7: Chicken Caesar Wraps (Grab & Go) 🍱 {#recipe7}
One of the most portable High Protein Meal Prep Ideas for work or school. These wraps stay fresh for days when assembled correctly.
Prep Time: 15 minutes | Cook Time: 15 minutes | Servings: 4 | Protein per serving: ~38g
Ingredients
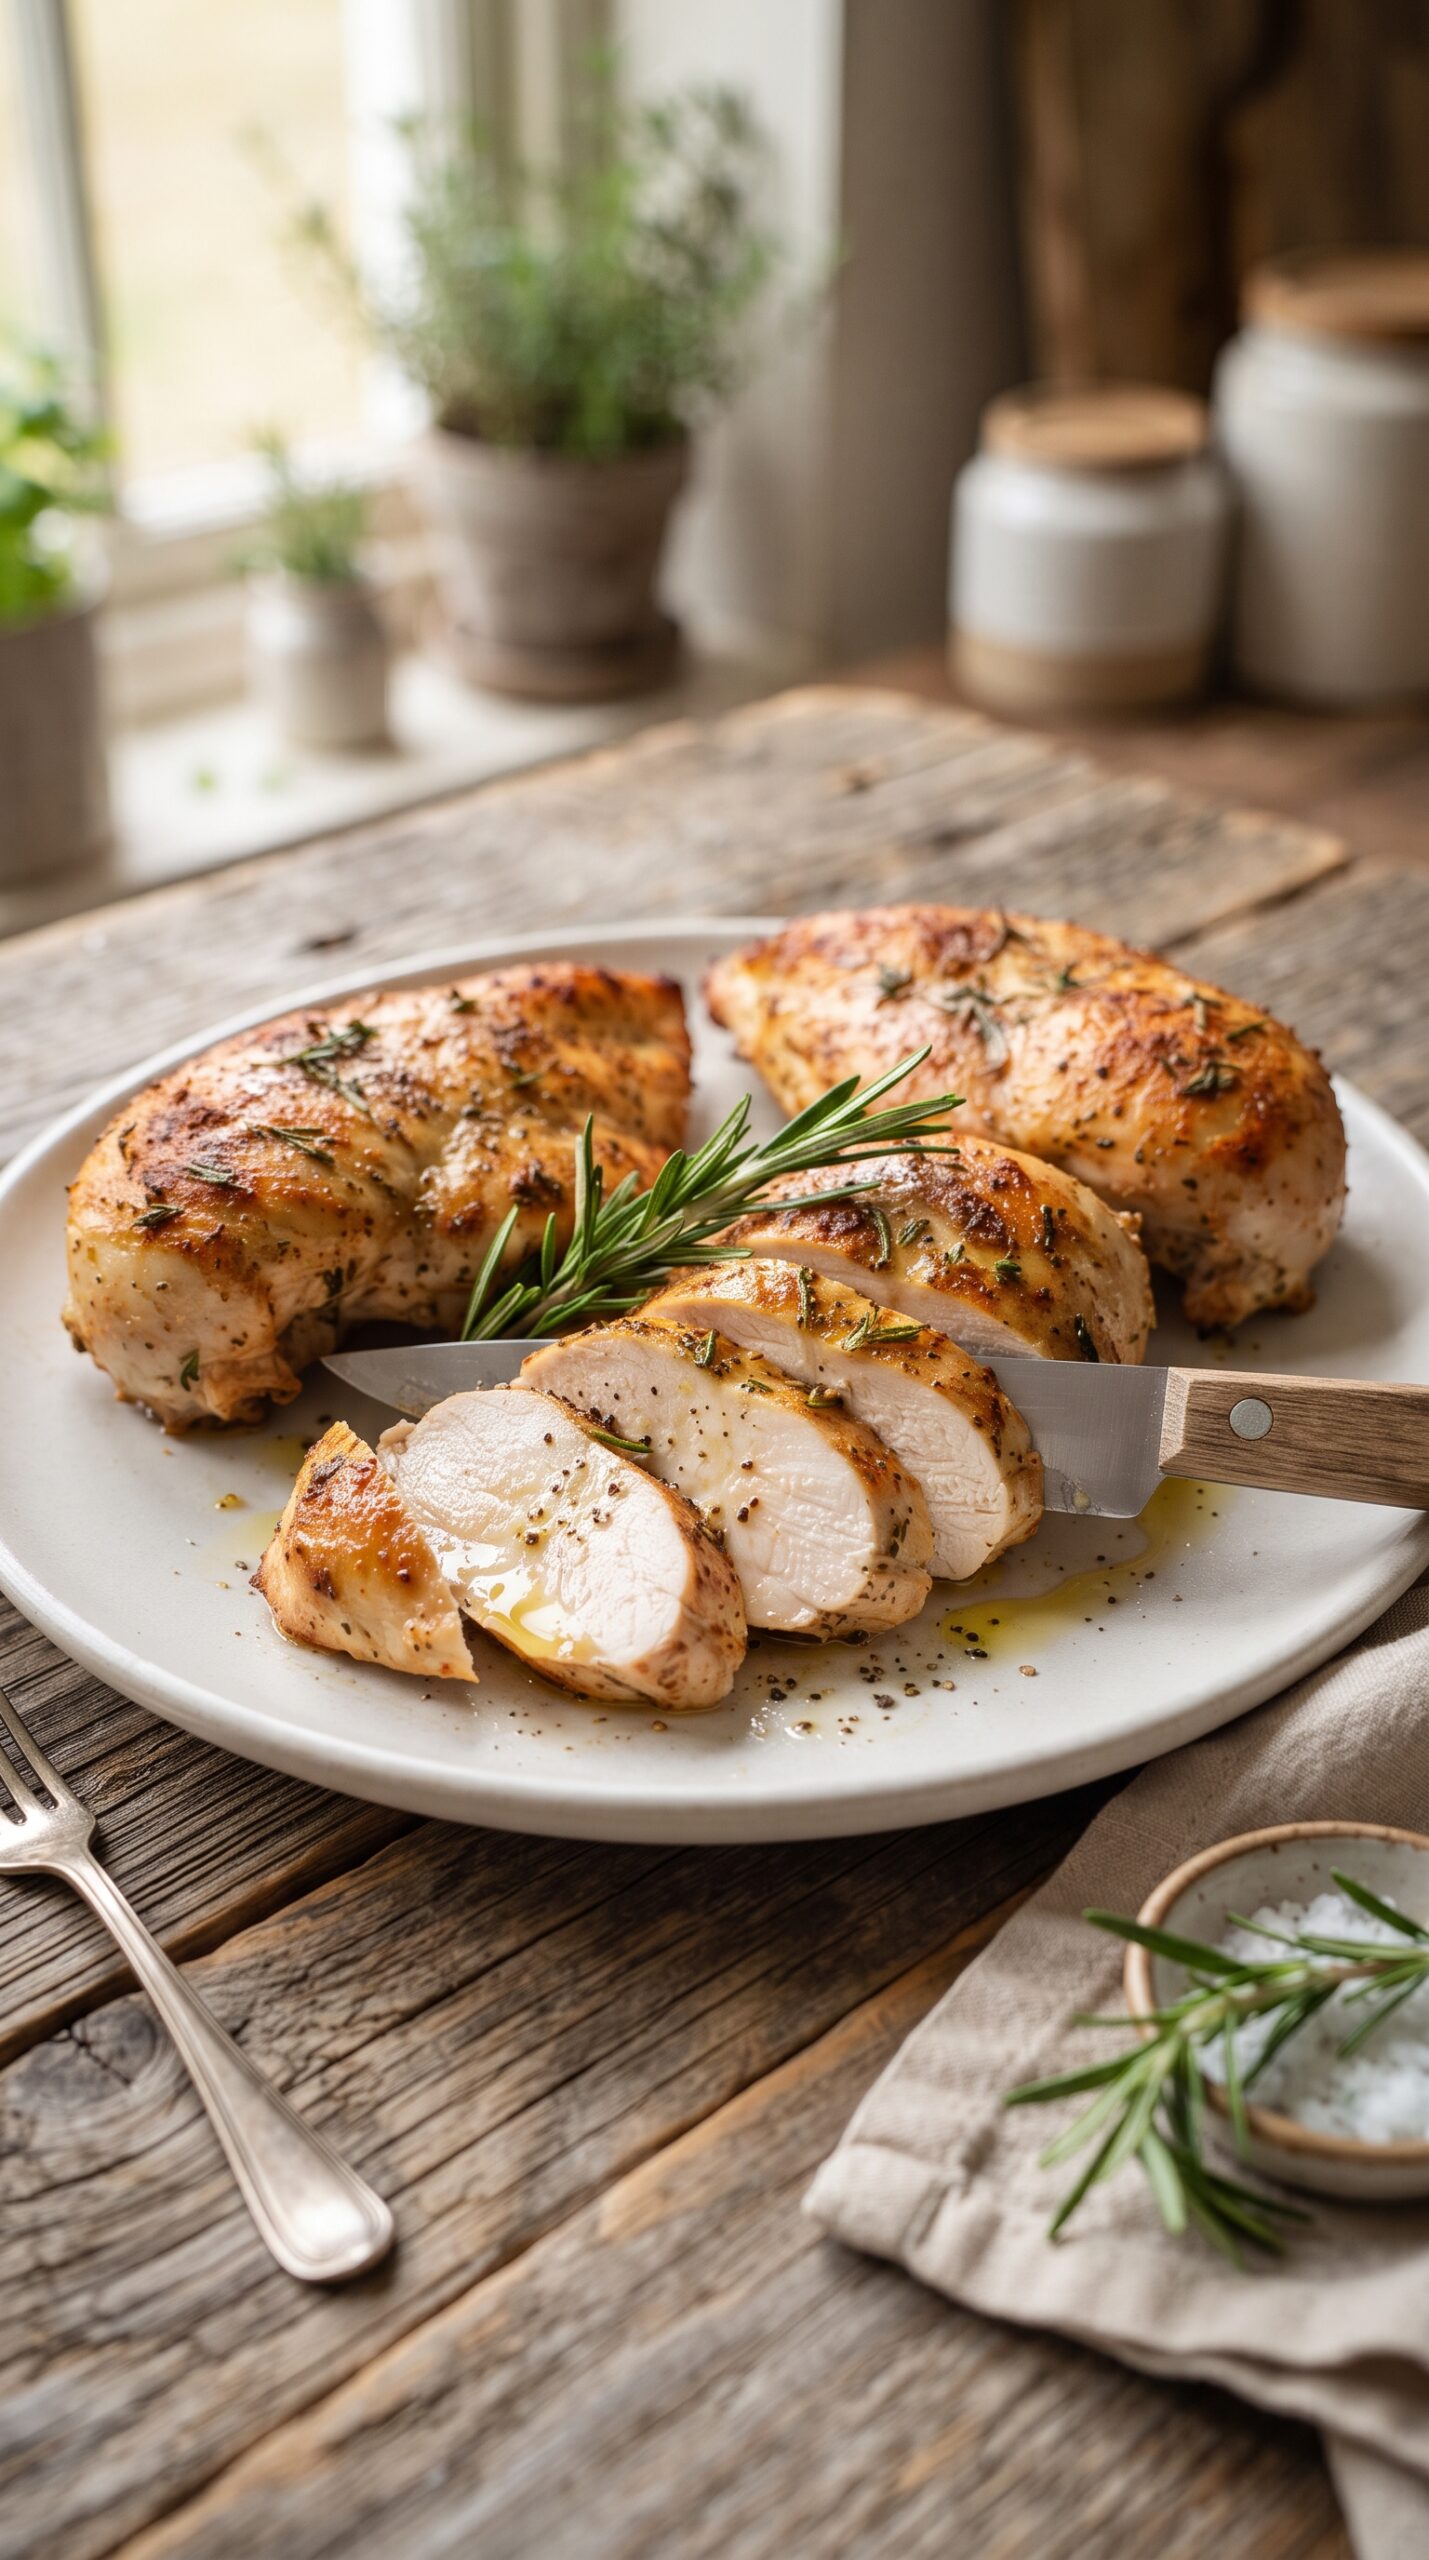
- 1.5 lbs (680g) chicken breast
- 4 large flour tortillas (10-inch, whole wheat or regular)
- 3 cups romaine lettuce, chopped
- ½ cup shaved Parmesan cheese
- 1 cup cherry tomatoes, halved
- ¼ cup Caesar dressing (light or regular)
- 2 tbsp olive oil
- 1 tsp garlic powder
- 1 tsp dried oregano
- Salt and pepper to taste
- ½ cup croutons (optional, store separately)
Step-by-Step Instructions
Step 1: Season and cook the chicken. Rub the chicken breasts with olive oil, garlic powder, oregano, salt, and pepper. Grill, pan-sear, or bake at 400°F (200°C) for 15–18 minutes until the internal temperature reaches 165°F (74°C). Let rest for 5 minutes, then slice into thin strips or dice.
Step 2: Prep the vegetables. Wash and chop the romaine lettuce, halve the cherry tomatoes, and shave the Parmesan cheese. Keep everything in separate containers until assembly day.
Step 3: Make the assembly station. Lay out a tortilla and spread 1 tablespoon of Caesar dressing in the center. Layer with a generous handful of romaine, sliced chicken, cherry tomatoes, and shaved Parmesan.
Step 4: Roll the wrap tightly. Fold in the two sides of the tortilla, then roll from the bottom up as tightly as possible. Wrap each finished wrap in parchment paper or aluminum foil to hold its shape.
Step 5: Store smartly. For meal prep, you have two options: (A) Assemble the wraps fully and store wrapped in the fridge for up to 2 days, or (B) Store all components separately and assemble each morning for maximum freshness (recommended for 3–4 day prep).
Step 6: Add crunch. If using croutons, add them right before eating to maintain their crunch.
Recipe 8: Baked Chicken Meatballs the Whole Family Will Love 👨👩👧👦 {#recipe8}
Kid-approved High Protein Meal Prep Ideas that adults will love too. These juicy meatballs are versatile — serve them with pasta, rice, or on their own as a snack.
Prep Time: 15 minutes | Cook Time: 20 minutes | Servings: 6 (about 24 meatballs) | Protein per serving: ~32g
Ingredients
- 2 lbs (900g) ground chicken
- ½ cup breadcrumbs (panko or regular)
- ¼ cup grated Parmesan cheese
- ¼ cup milk
- 1 large egg
- 3 cloves garlic, minced
- ¼ cup fresh parsley, finely chopped
- 2 tsp Italian seasoning
- 1 tsp onion powder
- 1 tsp salt
- ½ tsp black pepper
- 2 cups marinara sauce (for serving)
- 1 tbsp olive oil
Step-by-Step Instructions
Step 1: Preheat the oven. Preheat to 400°F (200°C). Line a large baking sheet with parchment paper and lightly drizzle with olive oil.
Step 2: Make the panade. In a small bowl, combine the breadcrumbs and milk. Let sit for 5 minutes until the breadcrumbs absorb the liquid. This step is crucial for keeping the meatballs moist and tender.
Step 3: Mix the meatball base. In a large bowl, combine the ground chicken, soaked breadcrumb mixture, Parmesan cheese, egg, minced garlic, parsley, Italian seasoning, onion powder, salt, and pepper. Mix gently with your hands or a fork until just combined. Do not overmix — this will make the meatballs tough.
Step 4: Shape the meatballs. Scoop about 2 tablespoons of the mixture and roll into golf-ball-sized rounds. Place them on the prepared baking sheet, spacing them about 1 inch apart. You should get approximately 24 meatballs.
Step 5: Bake. Bake in the preheated oven for 18–22 minutes until the meatballs are golden brown on the outside and reach an internal temperature of 165°F (74°C).
Step 6: Sauce and portion. Warm the marinara sauce in a saucepan. Divide the meatballs among 6 meal prep containers (about 4 per container). Pour ⅓ cup of marinara sauce over each portion.
Step 7: Store. Refrigerate for up to 4 days or freeze for up to 3 months. Serve over whole wheat pasta, zucchini noodles, or with a side of roasted vegetables.
Recipe 9: Garlic Butter Salmon with Asparagus (Keto) 🥑 {#recipe9}
One of the most luxurious High Protein Meal Prep Ideas that also happens to be 100% keto-friendly. Rich in omega-3 fatty acids and ready in under 25 minutes.
Prep Time: 5 minutes | Cook Time: 15 minutes | Servings: 4 | Protein per serving: ~39g | Net Carbs: ~4g
Ingredients
- 4 salmon fillets (6 oz / 170g each), skin-on
- 2 bunches asparagus, woody ends trimmed
- 4 tbsp unsalted butter
- 4 cloves garlic, minced
- 2 tbsp fresh lemon juice
- 1 tbsp fresh dill, chopped (or 1 tsp dried)
- 1 tsp lemon zest
- 1 tsp salt
- ½ tsp black pepper
- ½ tsp red pepper flakes (optional)
Step-by-Step Instructions
Step 1: Preheat the oven. Preheat to 400°F (200°C). Line a large baking sheet with aluminum foil for easy cleanup.
Step 2: Prepare the garlic butter. In a small saucepan or microwave-safe bowl, melt the butter. Stir in the minced garlic, lemon juice, lemon zest, dill, salt, pepper, and red pepper flakes. Mix until well combined.
Step 3: Arrange the sheet pan. Place the salmon fillets skin-side down on one half of the baking sheet. Arrange the trimmed asparagus on the other half. Brush the garlic butter generously over both the salmon and the asparagus, reserving about 1 tablespoon for later.
Step 4: Bake. Roast in the preheated oven for 12–15 minutes. The salmon is done when it flakes easily with a fork and reaches an internal temperature of 145°F (63°C). The asparagus should be tender-crisp.
Step 5: Finish and portion. Drizzle the remaining garlic butter over the salmon and asparagus. Let cool for 5 minutes, then transfer each fillet with a portion of asparagus into individual meal prep containers.
Step 6: Store. Refrigerate for up to 3 days. Note: Salmon is best enjoyed within 2 days for optimal flavor and texture. Reheat gently in the oven at 275°F (135°C) for 10 minutes to avoid drying out.
Recipe 10: Sheet Pan Chicken & Veggies for Beginners 📝 {#recipe10}
If you’ve never meal prepped before, start here. This is the simplest of all High Protein Meal Prep Ideas — one pan, zero fuss, and foolproof results every time.
Prep Time: 10 minutes | Cook Time: 25 minutes | Servings: 4 | Protein per serving: ~38g
Ingredients
- 2 lbs (900g) chicken breast, cut into 1-inch cubes
- 2 cups baby potatoes, halved
- 2 cups broccoli florets
- 1 large zucchini, diced
- 1 red bell pepper, chopped
- 1 red onion, cut into wedges
- 3 tbsp olive oil
- 2 tsp garlic powder
- 2 tsp dried Italian herbs (oregano, basil, thyme)
- 1 tsp smoked paprika
- 1 tsp salt
- ½ tsp black pepper
- 1 lemon, cut into wedges
Step-by-Step Instructions
Step 1: Preheat the oven. Preheat to 425°F (220°C). Line two large baking sheets with parchment paper.
Step 2: Season the chicken. In a large bowl, toss the chicken cubes with 1 tablespoon of olive oil, 1 teaspoon of garlic powder, 1 teaspoon of Italian herbs, smoked paprika, half the salt, and half the pepper. Set aside.
Step 3: Season the vegetables. In a separate large bowl, combine the baby potatoes, broccoli, zucchini, bell pepper, and red onion. Drizzle with the remaining 2 tablespoons of olive oil and the remaining garlic powder, Italian herbs, salt, and pepper. Toss until everything is evenly coated.
Step 4: Arrange on sheet pans. Spread the vegetables in a single layer on one baking sheet. Spread the seasoned chicken cubes in a single layer on the second baking sheet. Using two pans prevents overcrowding, which ensures everything roasts instead of steams.
Step 5: Roast. Place both sheets in the oven. Roast for 20–25 minutes, flipping the chicken and stirring the vegetables halfway through. The chicken should be golden and cooked to 165°F (74°C), and the potatoes should be fork-tender.
Step 6: Finish with lemon. Squeeze fresh lemon juice over the chicken and vegetables immediately after removing from the oven. This brightens all the flavors.
Step 7: Portion and store. Divide everything evenly among 4 meal prep containers. Let cool completely before sealing the lids to prevent condensation. Refrigerate for up to 4 days.
Storage Tips & Frequently Asked Questions {#faq}
How long do high protein meal prep meals last in the fridge?
Most cooked proteins and vegetables will stay fresh for 3–4 days in airtight containers. Fish and seafood should be consumed within 2–3 days. Always label your containers with the date you prepared them.
Can I freeze these High Protein Meal Prep Ideas?
Absolutely! Recipes 1, 3, 5, 6, and 8 freeze exceptionally well for up to 2–3 months. Thaw overnight in the refrigerator before reheating. Avoid freezing lettuce wraps (Recipe 2) and salmon (Recipe 9) as the texture will suffer.
What’s the best way to reheat meal prep without drying out the protein?
- Microwave: Use 50–70% power and heat in 1-minute intervals, stirring between each.
- Oven: Reheat at 300°F (150°C) covered with foil for 10–15 minutes.
- Stovetop: Add a splash of water or broth to a skillet and reheat over medium-low heat.
How much protein should I aim for per meal?
A general guideline is 25–45g of protein per meal for most active adults. All 10 of these High Protein Meal Prep Ideas fall within or exceed that range.
Can I double or triple these recipes?
Yes! All of these recipes scale perfectly. Simply multiply the ingredients and use additional sheet pans or a larger pot. This is ideal if you’re prepping for a family or an entire workweek.
Final Thoughts
Mastering High Protein Meal Prep Ideas doesn’t require a culinary degree or hours in the kitchen. As you’ve seen, these 10 recipes range from a lightning-fast 20-minute stir fry to a simple sheet pan dinner that even complete beginners can nail on their first try.
The key to long-term success with meal prepping is variety and simplicity. Rotate through these recipes each week, swap proteins and vegetables based on what’s on sale, and don’t be afraid to experiment with different sauces and seasonings to keep things exciting.
Your future self — the one who opens the fridge on a hectic Wednesday and finds a perfectly portioned, protein-packed meal waiting — will thank you.
Pin this guide, bookmark it, and start your meal prep journey this Sunday! 📌
Did you try any of these High Protein Meal Prep Ideas? Leave a comment below and let us know which recipe is your favorite!